Shuffll API enables seamless automation of video creation by integrating with external workflows and tools. Connect your systems to streamline content production, ensuring a smooth and efficient video generation process.
Integrate shuffll into make.com
Create a Shuffll account. After you create a Shuffll account, you are able to make professional videos by leveraging Shuffll's powerful AI capabilities.
Access your API key
After you have registered the Shuffll account, proceed to your account menu and press on the API page.
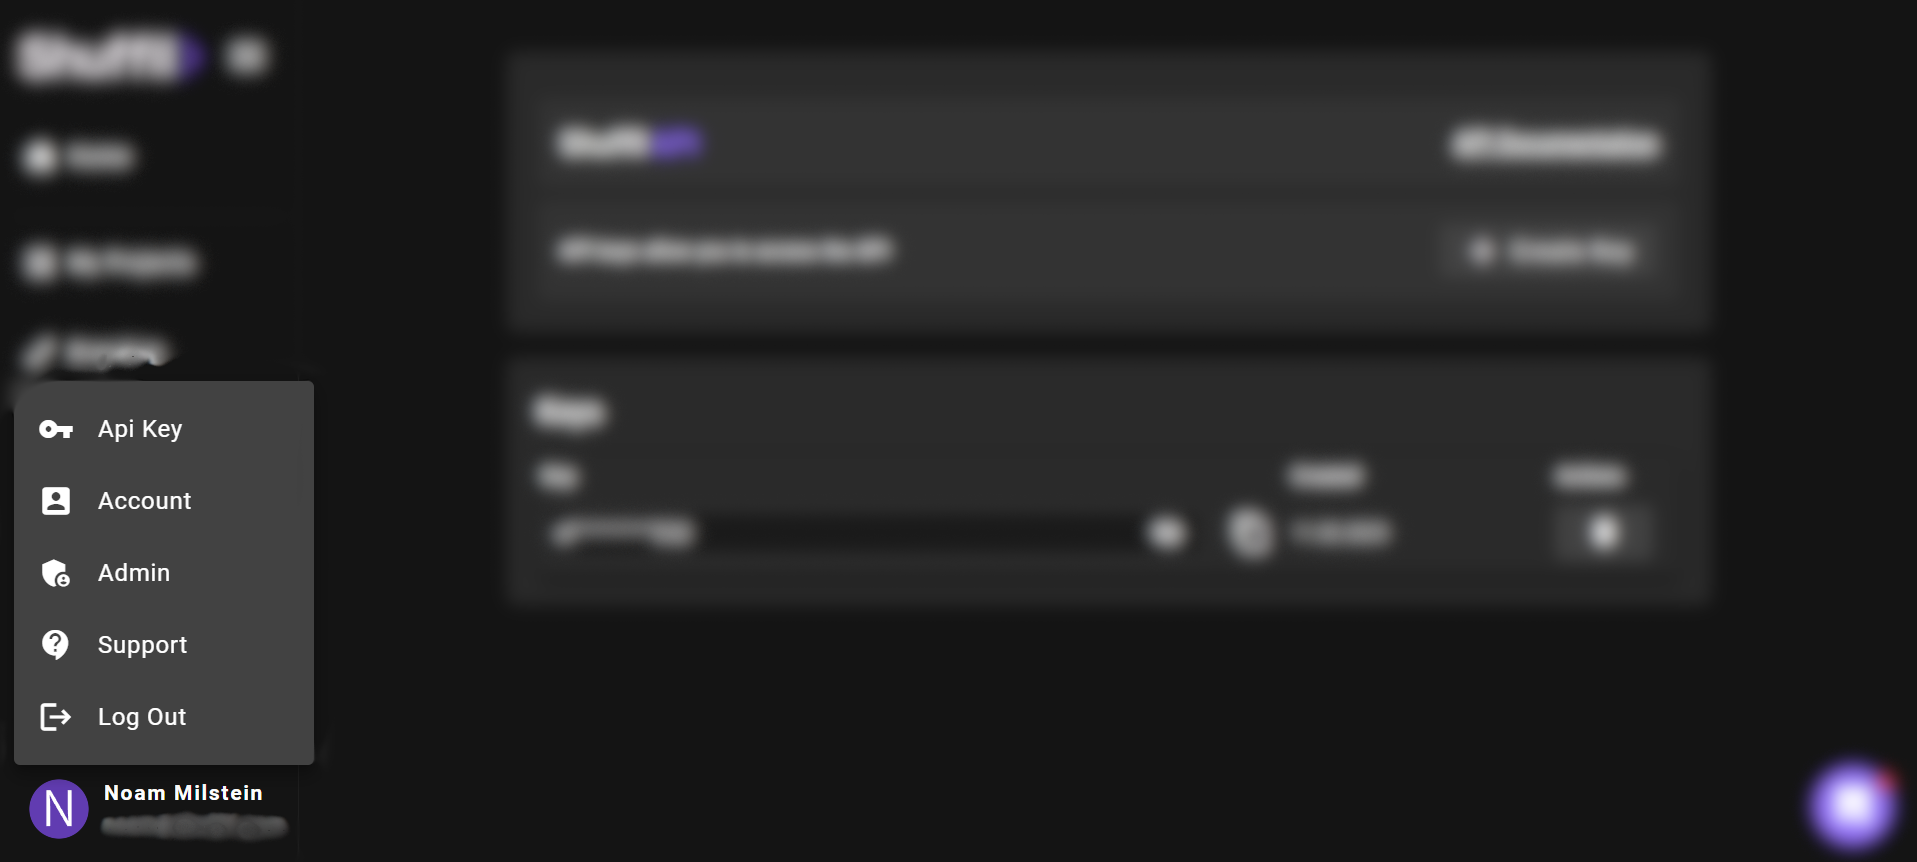
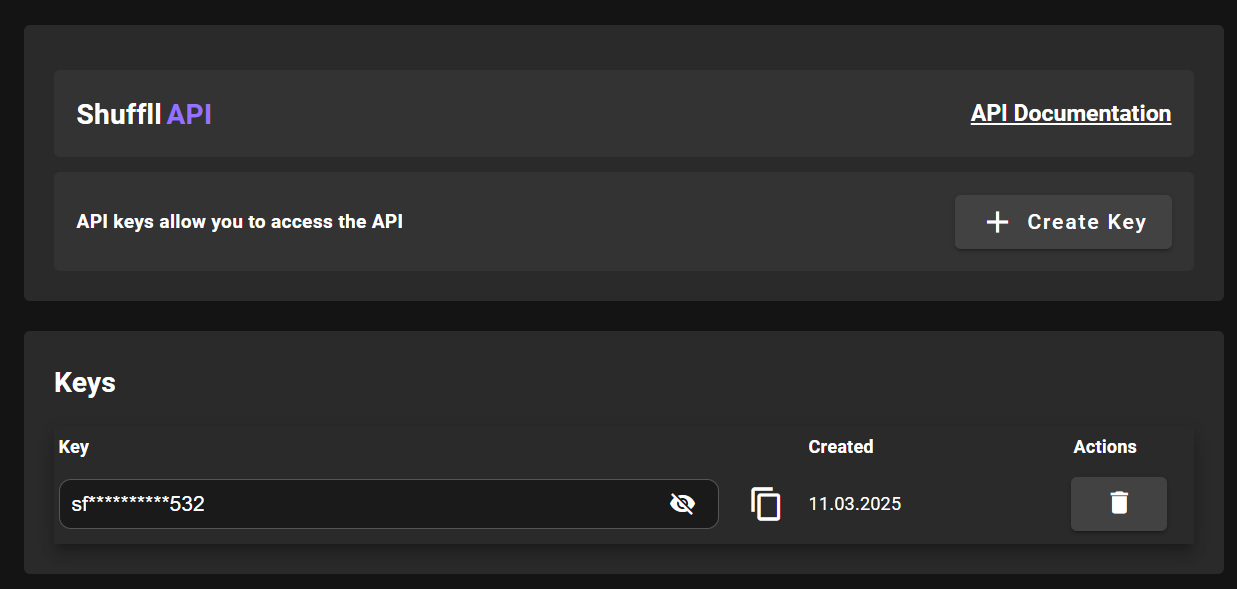
create API and copy your API token.
To embed a video file larger than 5MB, you must be subscribed to the Premium plan on Make.com
In order to get the best and easy way to create your video you will need to create 2 separate scenarios.
How to start new scenario
In the Make.com app open the left navigation bar and click on "Scenario." Then, select "New Scenario." After clicking the plus icon in the circle button, you can search for any app you want to connect.
Step 1:
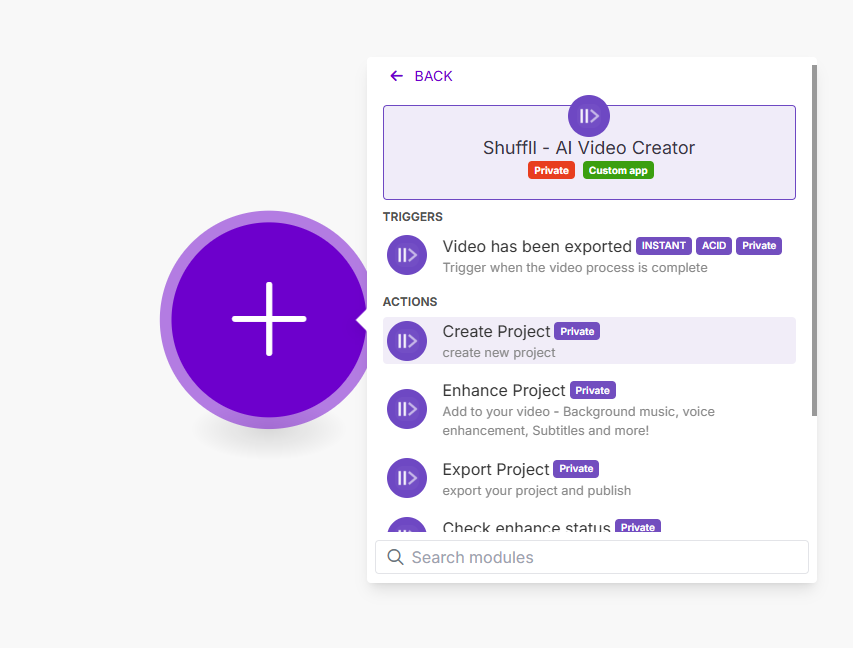
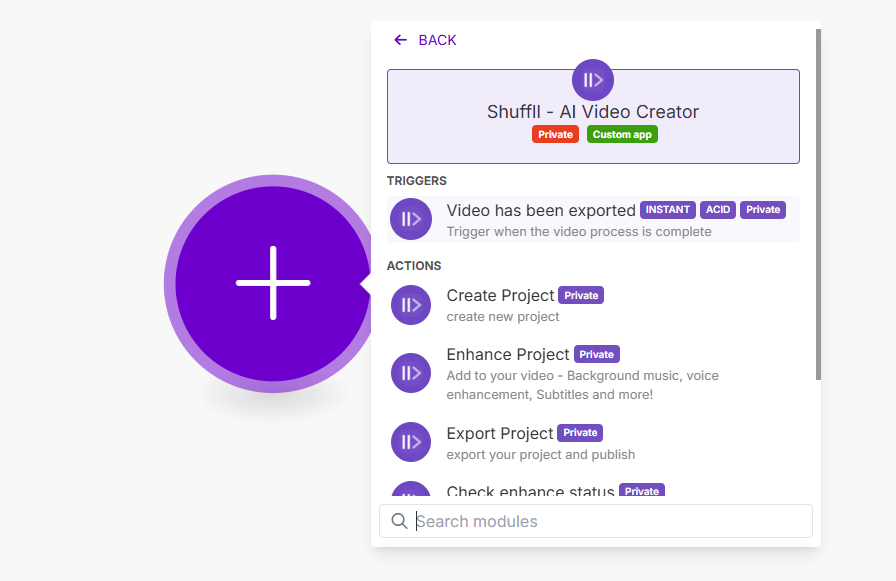
Open a new scenario and search for the Shuffll app. Once you find it, select the first action: "Create Project.
Step 2:
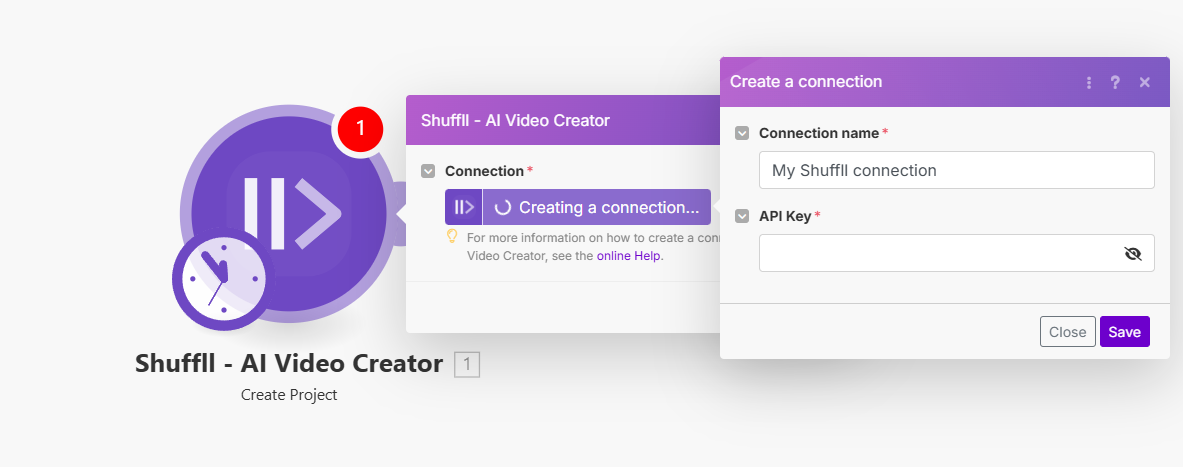
After clicking on "Create Project," the first window will appear. Click on "Create a Connection" and enter the API key you received from the Shuffll platform. (image below)
Step 3:
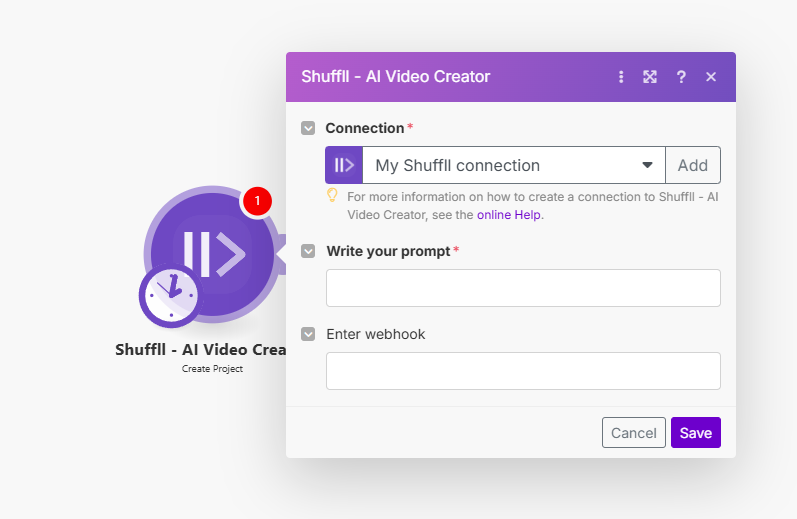
After saving, the first window will expand, revealing a field labeled "Prompt."
Write your prompt then click "Save."
This prompt is the core of your video. The more detailed and descriptive your prompt is, the better we can personalize your video. The final video will be based on the information you provide in this prompt.
The "Enter Webhook" step will be completed after setting up the second scenario.
Once you save this, the scenario is complete for now
step 1:
Open a new scenario and search for the Shuffll app. Once you find it, select from triggers section - "Video has been exported"
step 2:
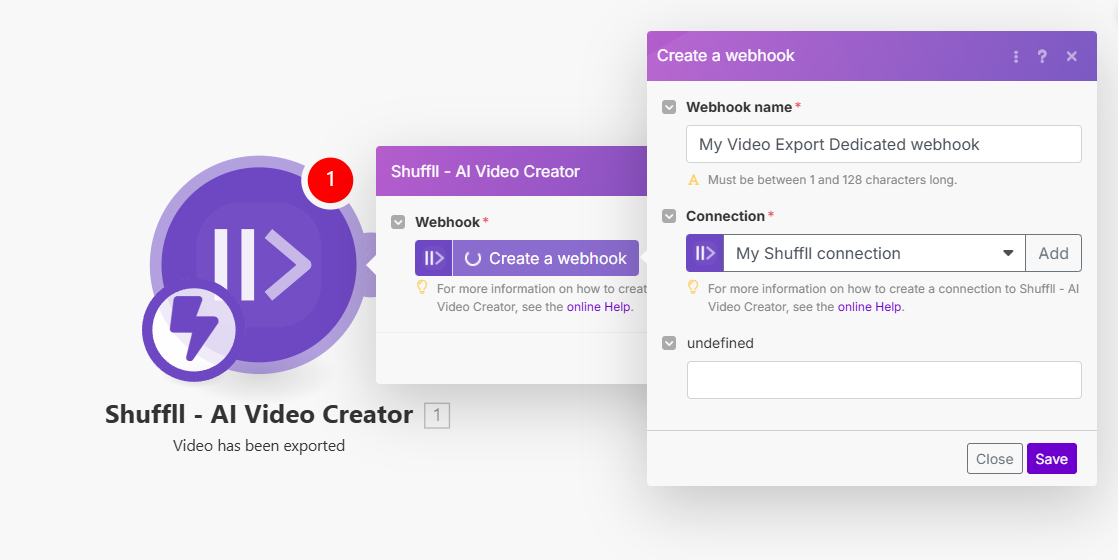
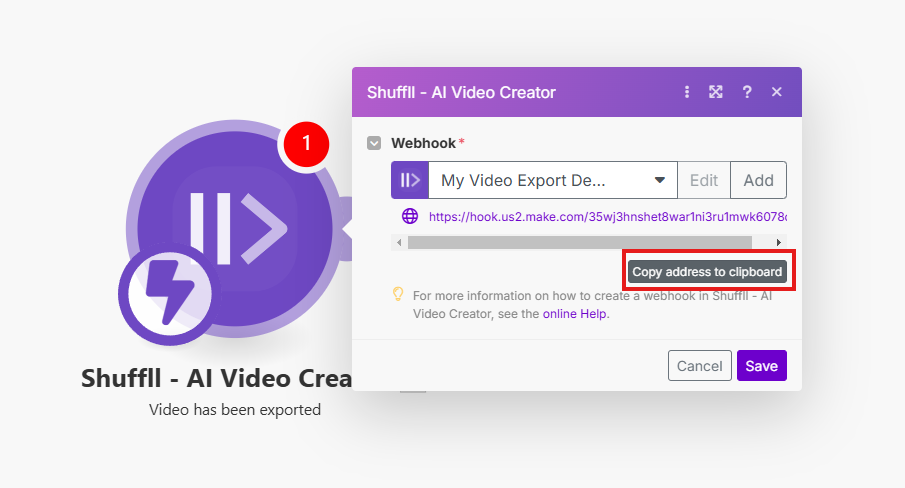
After clicking on "Video has been exported" the first window will appear again. Click on "Create a webhook" and make sure that the connection is under the same connection name that you enter earlier at your first scenario (step 2)
And click "Save" (ignore any undefined areas).
 Step 3:
right after you will save it, you will get an address. click on "copy adress to clipboard" and press "save"
Step 4:
Now, return to the first scenario and paste the provided address into the "Enter Webhook" field. This final step completes the setup of your first scenario.
Congrats, now you've done with the video creation!
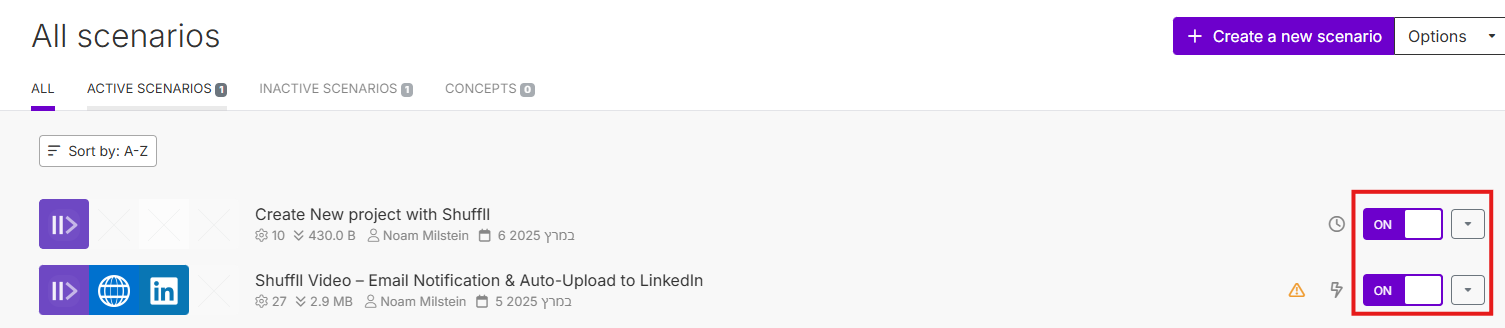
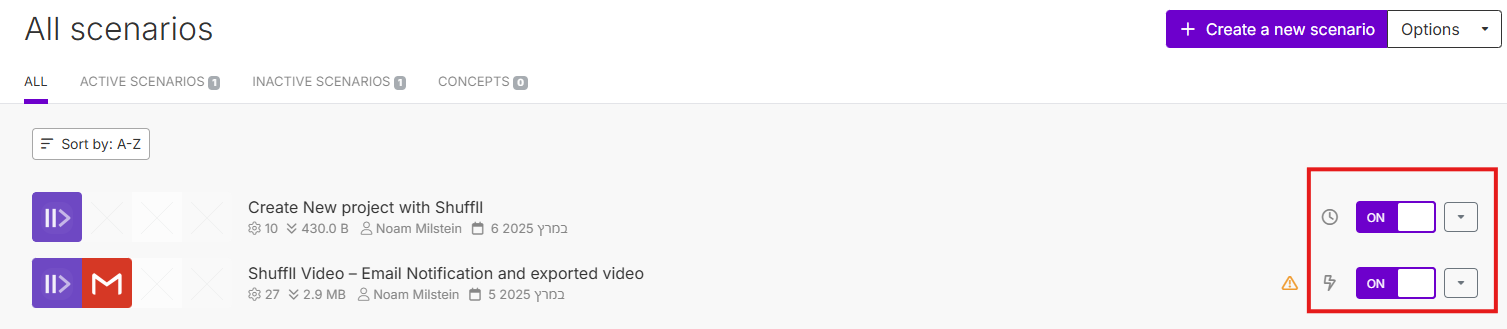
when you done with all connection you will need to turn on those 2 scenarios and they will work togheter with zero involved.
You have several options for utilizing it. We will create workflows for the most common use case:
watch the video via email
Immediately publish the video on social media (LinkedIn)
To start both workflow, Go back to the second scenario (the one with the trigger- "video has been exported"
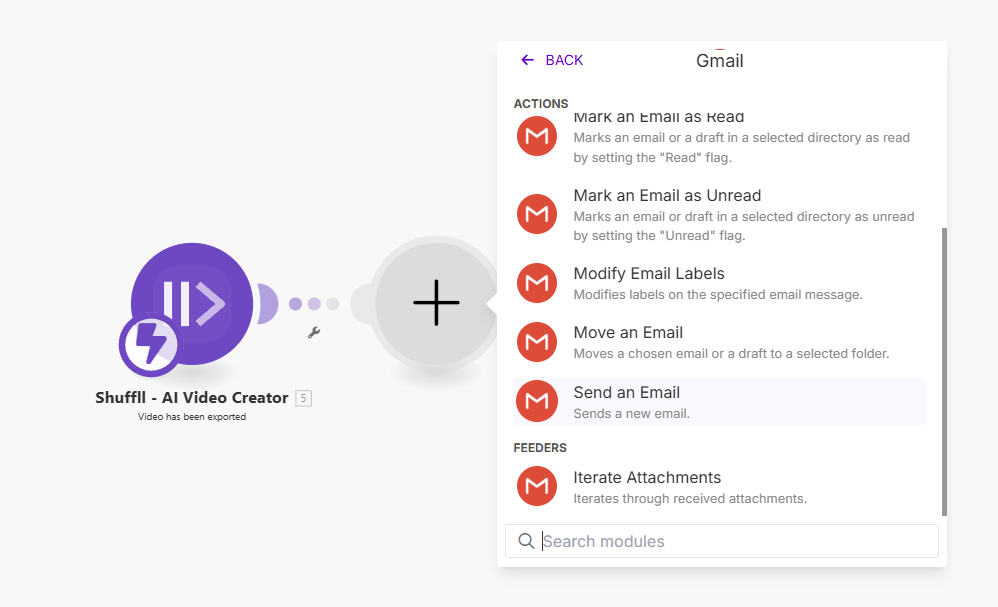
Click on 'Add New Module' and connect the Gmail app. Then, select the 'Send an Email' action
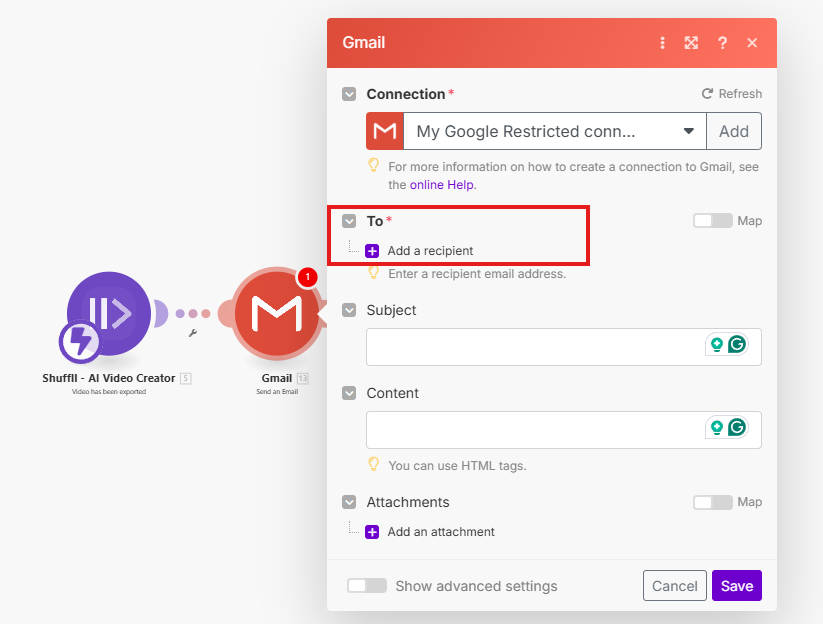
After pressing, click on "add a recipient" and enter your email address. (All emails provided here will receive the video)
The subject field serves as the email title. We recommend including the 'Project Name' item under 'Payload' 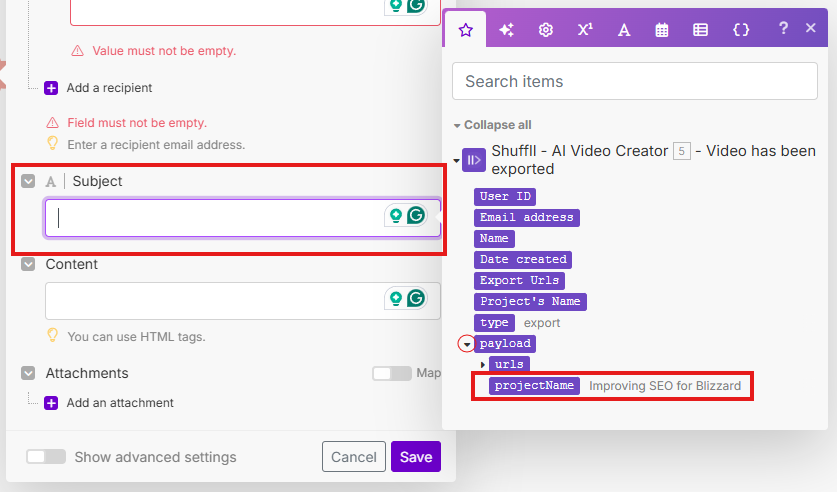
The content field contains the actual video. To ensure proper delivery, select the 'UploadPath' item under 'Payload' → 'URLs' 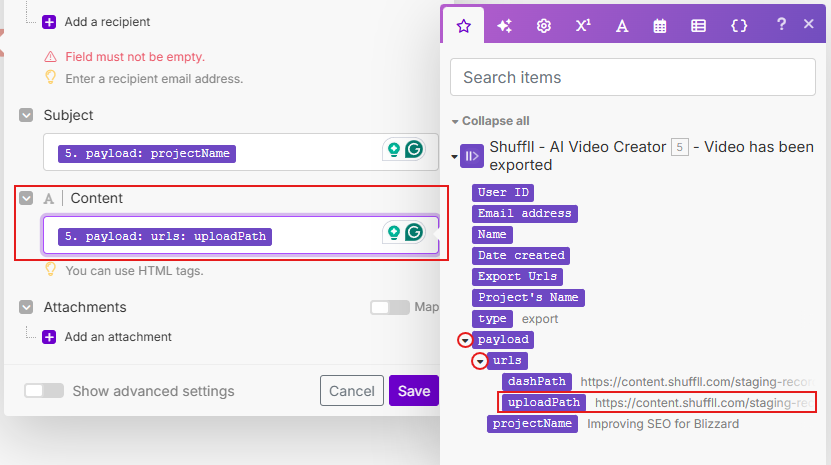
After pressing 'Save,' the final video will be delivered to your inbox once the process is complete. In this specific scenario, no other fields are required.
Your almose done!
When you’ve finished creating your scenarios, don’t forget to activate them
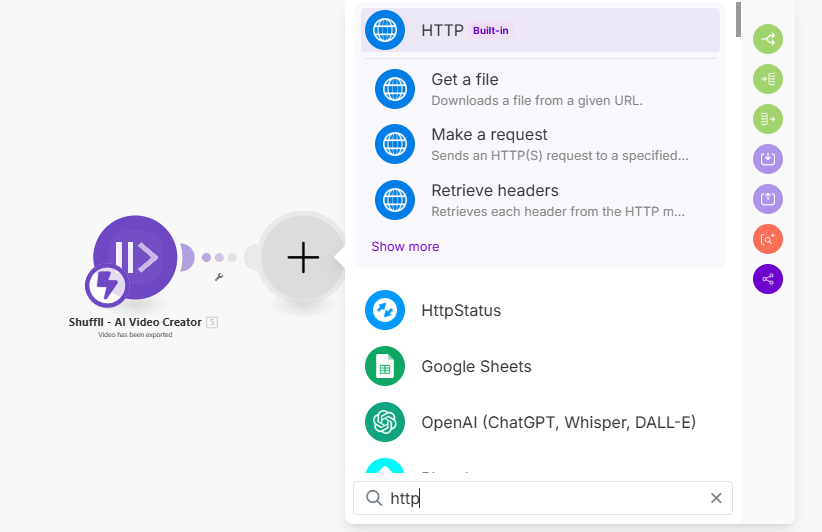
Click on 'Add New Module' and connect the HTTPS module (a built-in app tool in Make). Then, select the 'Get a File' action
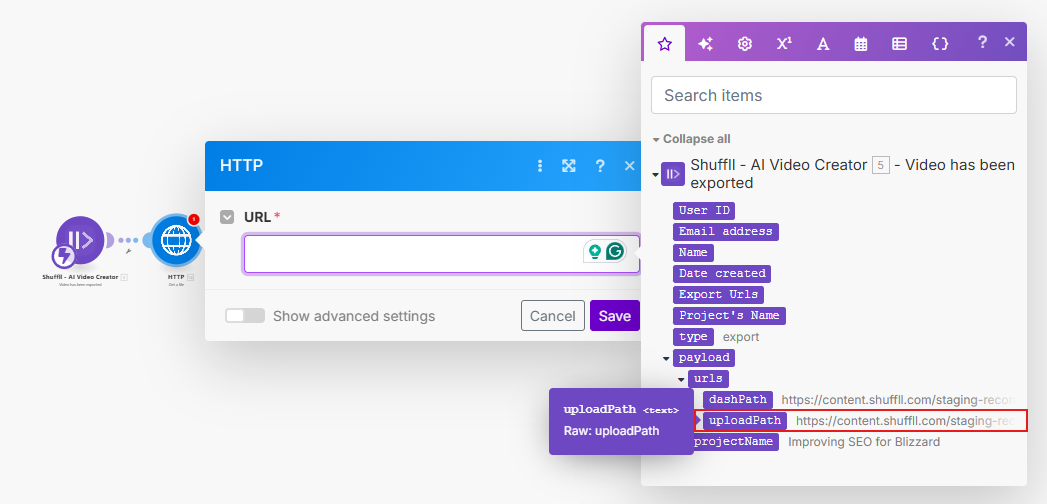
then, select the uploadpath item under 'Payload' → 'URLs' and click save.
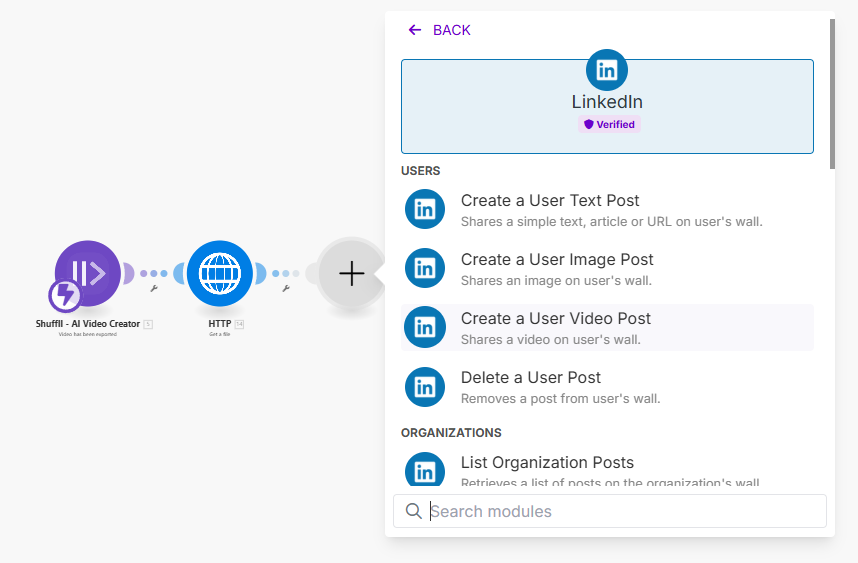
After that, connect another module to the HTTP module, add the LinkedIn app and from the LinkedIn list, select the 'Create a User Video Post' action.
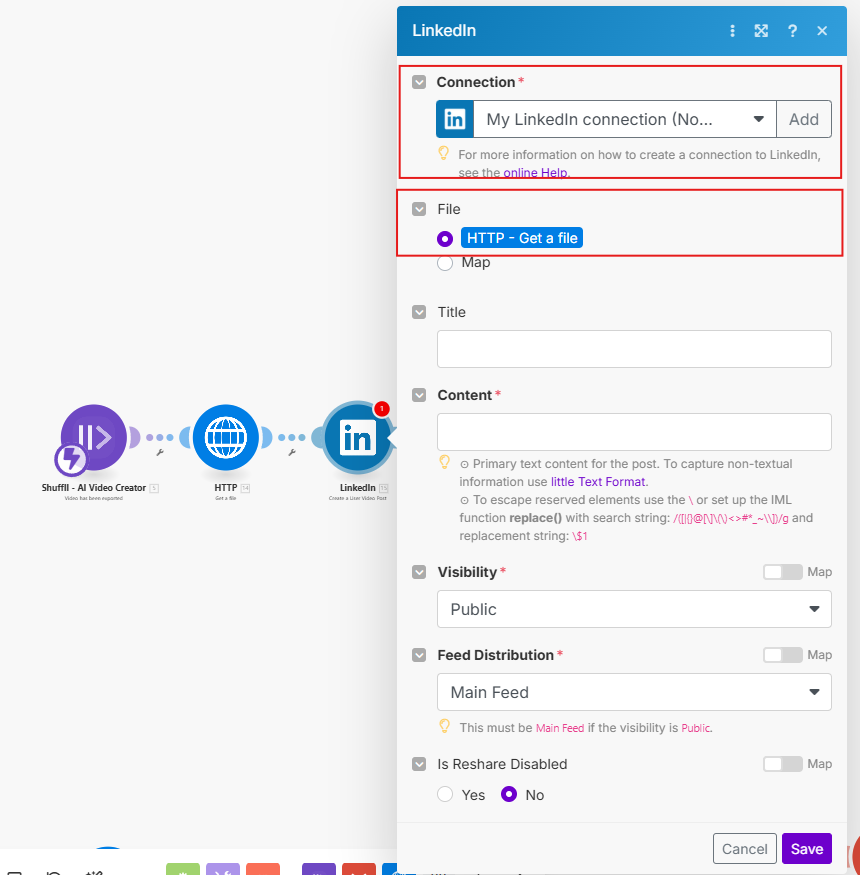
Next, in the new window, connect your LinkedIn account and ensure it is successfully linked to Make.com. Then, verify that the field is connected to the HTTP 'Get a File' option.
Add a relevant title and content, set the permissions, and press 'Save.
When you’ve finished creating your scenarios, don’t forget to activate them!